
Do you know all Fashion Wanderer sewing patterns are available in PDF digital file? Download the design and start making clothes right away!
Whether you have one size bag or multi size dresses, here are easy ways to assemble PDF sewing patterns to get you started!
You will love our Fashion Wanderer sewing patterns because…
- Use regular printer at home and reprint endless copies of the design if the sewing pattern gets worn out over time.
- Paper patterns are more durable than tissue patterns that can rip very easily.
- Each design includes with step by step picture instructions and video tutorial for you to follow.
In this tutorial, we will cover instructions for assembling PDF sewing pattern. Learn how to read pattern measurements, how to connect pattern pieces and how to use the sewing pattern so you can enjoy making new clothes.
Tips to Assemble Fashion Wanderer Sewing Patterns
Download, print, cut and sew, seems pretty straight forward, right? Yes, it is, however there are a few tips that should be highlighted to help you seamlessly execute new clothes from a Fashion Wanderer sewing pattern.
- Change up the fabrication: If you love the design, then remakes the garment with different fabric selections. Have fun and explore fun fabric choices that you will love!
- Adjust the ink ratio: This is not a display or a written document that requires visual presentation. Reduce the ink level to draft setting so that you don’t use excess amounts of printing.
- Pin pattern to fabric: The paper will slide around on the fabric. Secure the paper in place with pins to ensure that the cutlines are smooth, even and consistent throughout the design.
- Adjust the fit: Lengthen or shorten the pattern based on your own body measurements. Since you can reprint the pattern as many times as you like, it is easy to customize the fit and play around with different sizing.


How to assemble PDF sewing pattern
Following this method to assemble PDF sewing pattern helps you speed up the preparation process so you can start sewing your new clothes. If you have any questions about the instructions, please reach out and let us know how we can help you!
Materials
- Sewing Pattern
Tools
- Scissors
- Tape
- Straight Pins
Instructions
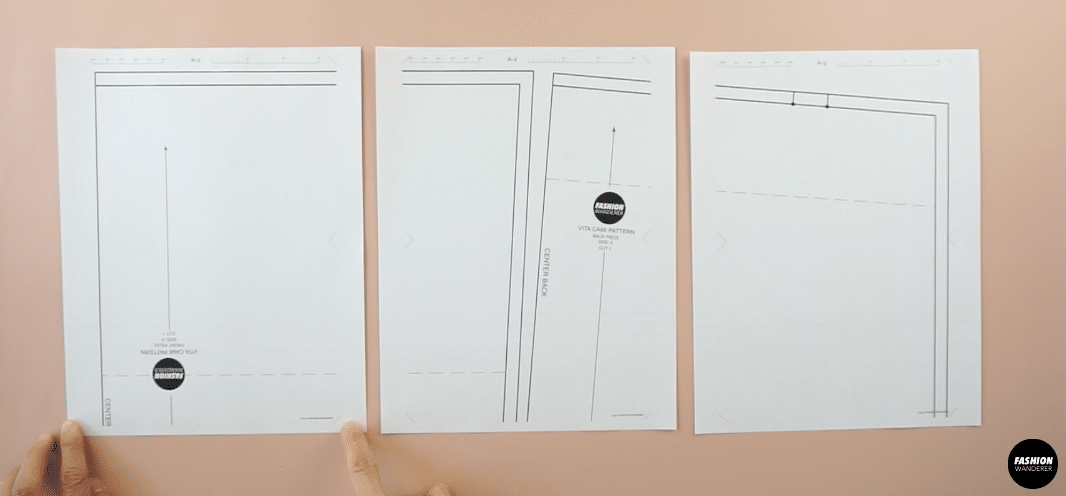
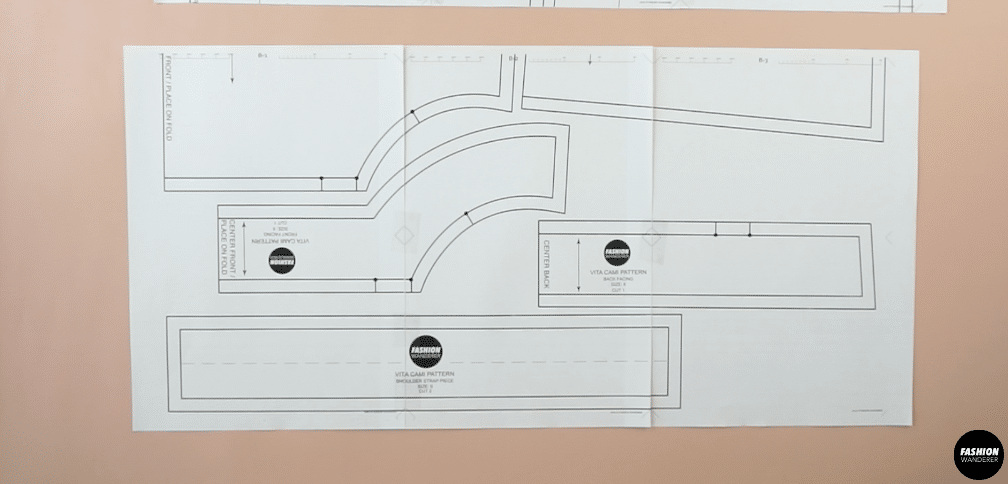
- To assemble a PDF sewing pattern, start by printing out the design you wish to make.
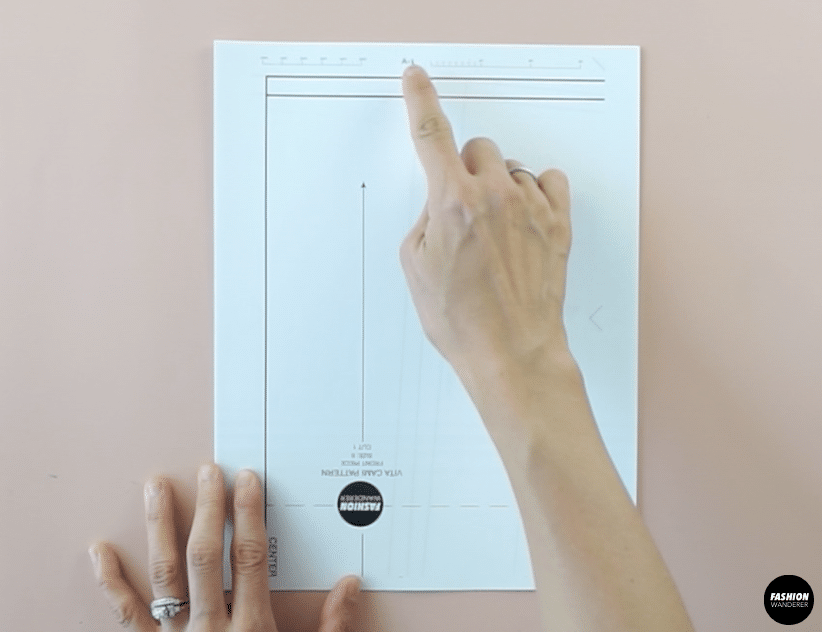

- The position of each pattern piece is noted in the top center of the paper.
- The row is noted by a letter such as A, B, C;
and the column is identified by a number like 1, 2, 3.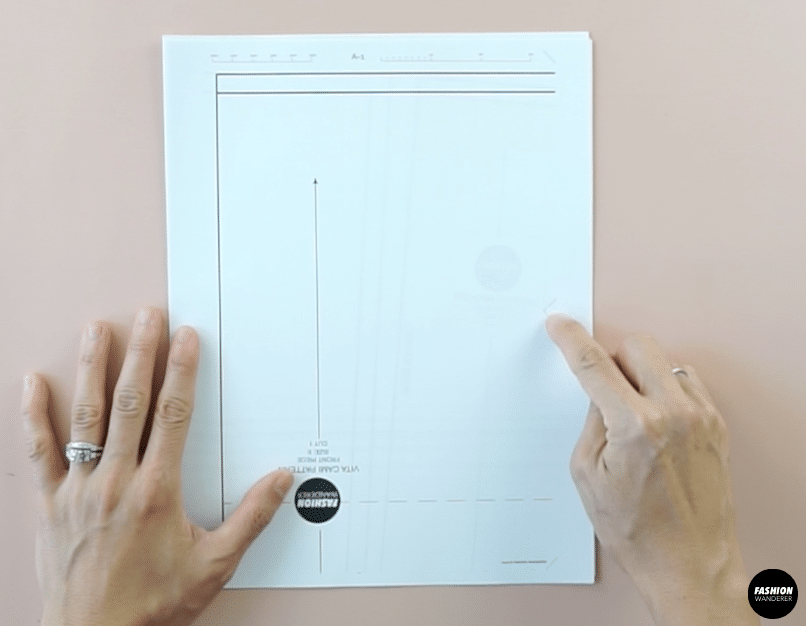
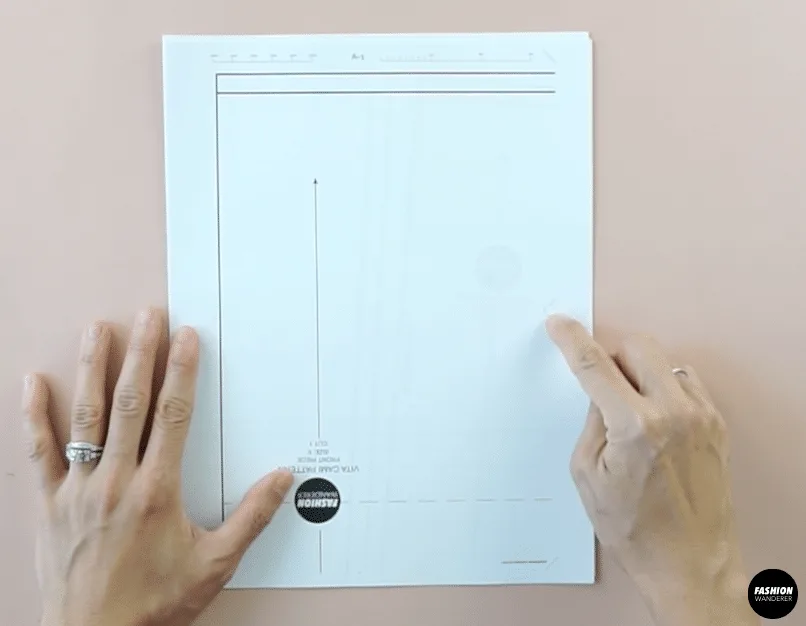
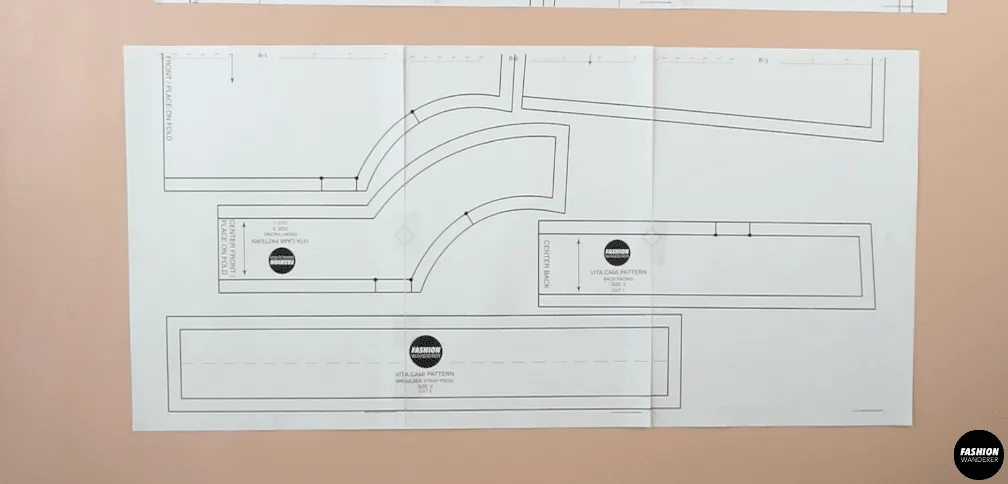
- Place all of the row A on top, and line up the the numbers in order from left to right.
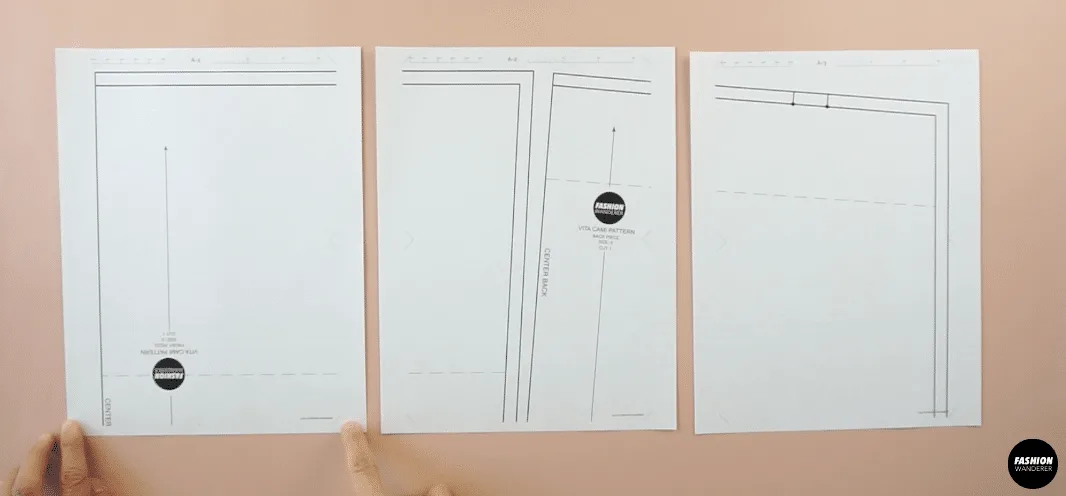
- Place all of the row B in the next row, and again line up the the numbers in order from left to right.
- Continue on until you have lined up the rows in alphabetical order, with the numbers in numerical order from left to right.
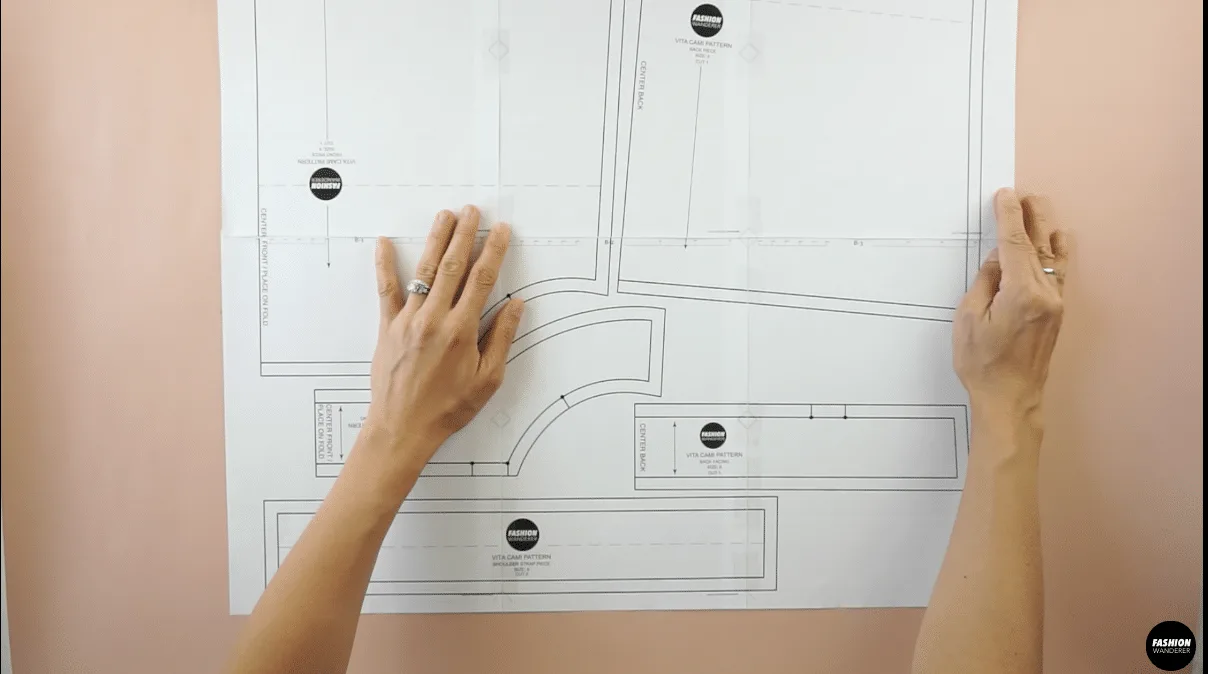
- Draw a straight line along the edge on one side of the pattern.
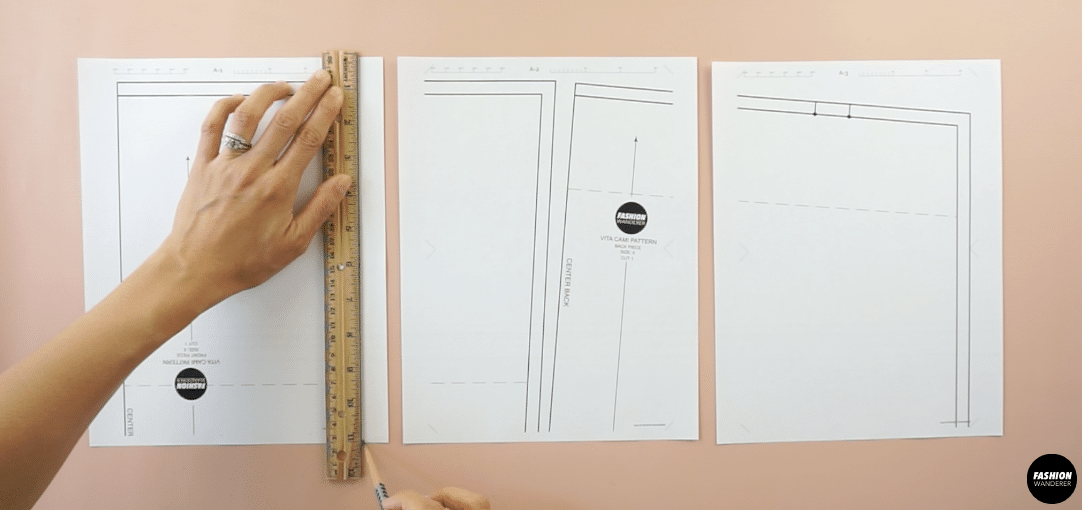

Pro tip: Overlap on side of the pattern piece for more support underneath the paper. - Use a piece of tape to secure the pattern piece in place along the inside or the diamond shape place.
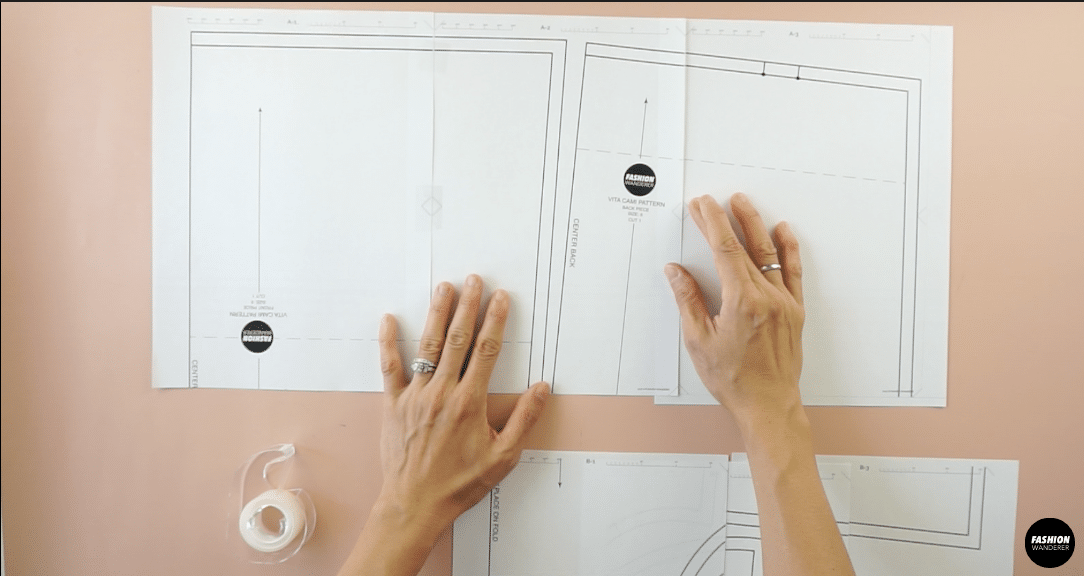

- Attach all the pieces in row A, then do the same for the next row.
- After you have attached all of the row pieces together, then join the rows together to make a large pattern printout.

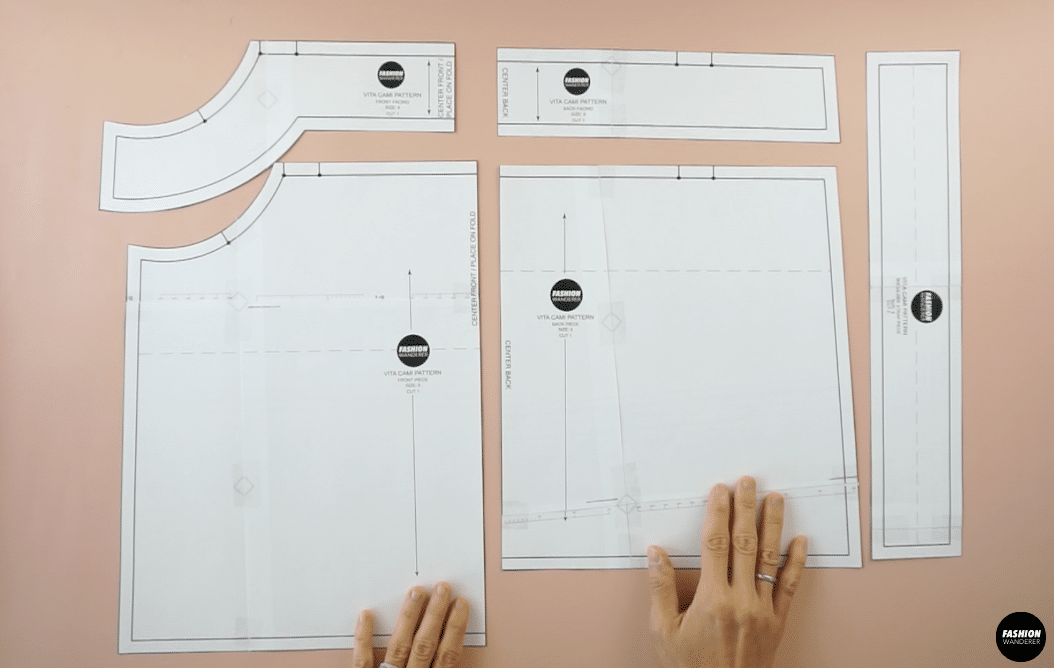
- Lastly, cutout each individual piece based on your size to gather together the PDF sewing pattern.
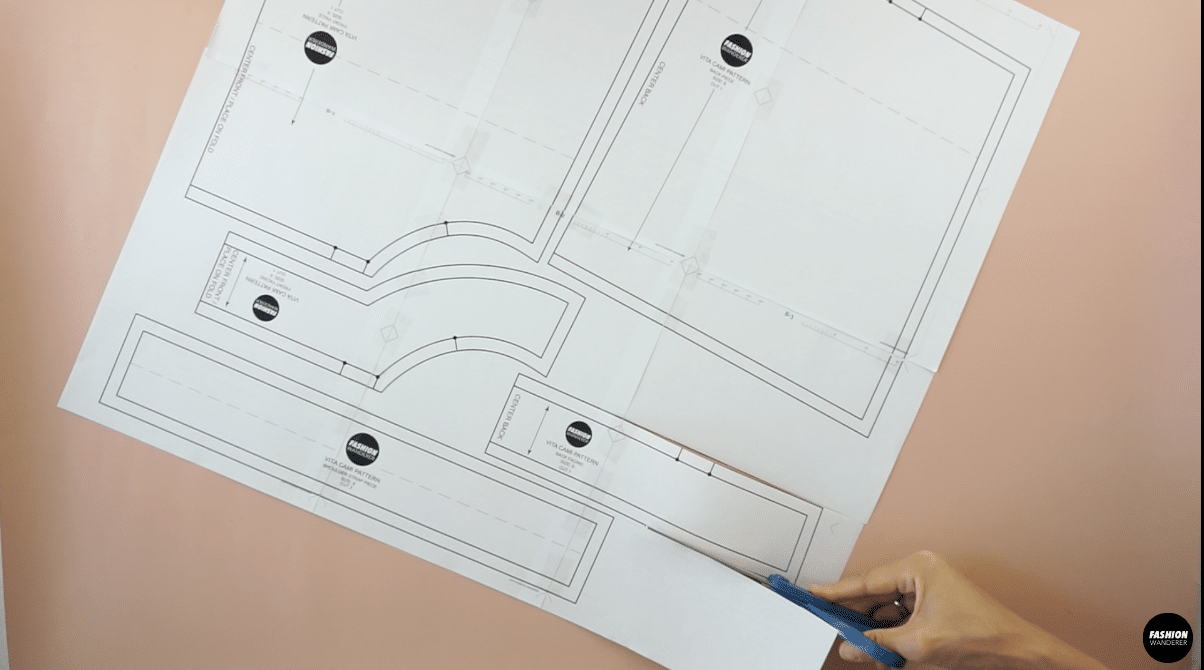
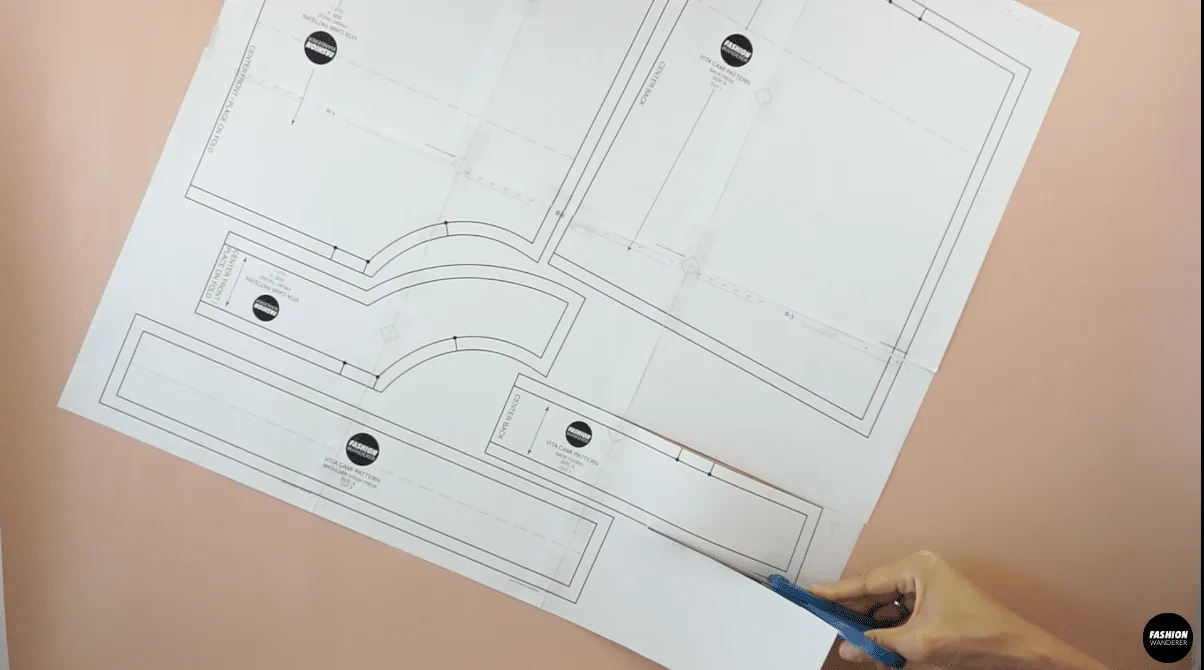
- Pin to cut or trace these pattern pieces onto the fabric of your choice for your DIY sewing project.

Trendy, Affordable Sewing Patterns for All Sizes


Tie Shoulder Jumpsuit Pattern


Palazzo Pants Sewing Pattern


Pocket Overall Romper Pattern


Wrap Maxi Skirt Sewing Pattern


Tie Back Top Sewing Pattern
Imri
Thursday 29th of July 2021
Hello does your pattern include a seam allowance and what Sean allowance is recommended?
Soonjoo
Thursday 29th of July 2021
Yes, all Fashion Wanderer sewing patterns include ⅜" seam allowance.